One of the key aspects in landscape photography is image sharpness. Making sure that all the key elements in a scene are in sharp focus, from those very close to the camera to those very far away. This can sometimes be challenging to achieve, especially in a single photograph, and once the image is taken, it’s one of those things that cannot be fixed during post processing so we need to get it right first time.
This desired result of back-to-front image sharpness can be achieved by stopping the lens down to, say, f/22, which will create a greater depth-of-field within the image, but in reality this will actually create a softer image due the the amount of light defraction taking place within the lens at that sort of aperture.
The sharpest apertures on lenses, also known as the lens ‘sweet spot’, are generally between f/8 and f/11 but this can depend on any number of hardware configurations.
There’s also the hyperfocal focussing technique, which may allow you to capture a full scene with acceptable sharpness throughout in a single image, but there will always be scenes which you’ll struggle with achieving that front-to-back sharpness at optimal quality.
So what’s the solution to acheiving optimal image sharpness across the whole scene?
Focus stacking.
Focus stacking is a technique for extending the apparent depth-of-field in a single image.
The technique involves taking multiple photographs of the same scene only with the focus point shifted to a different plane of the scene in each photo, and then combining those photographs – stacking – into a single image.
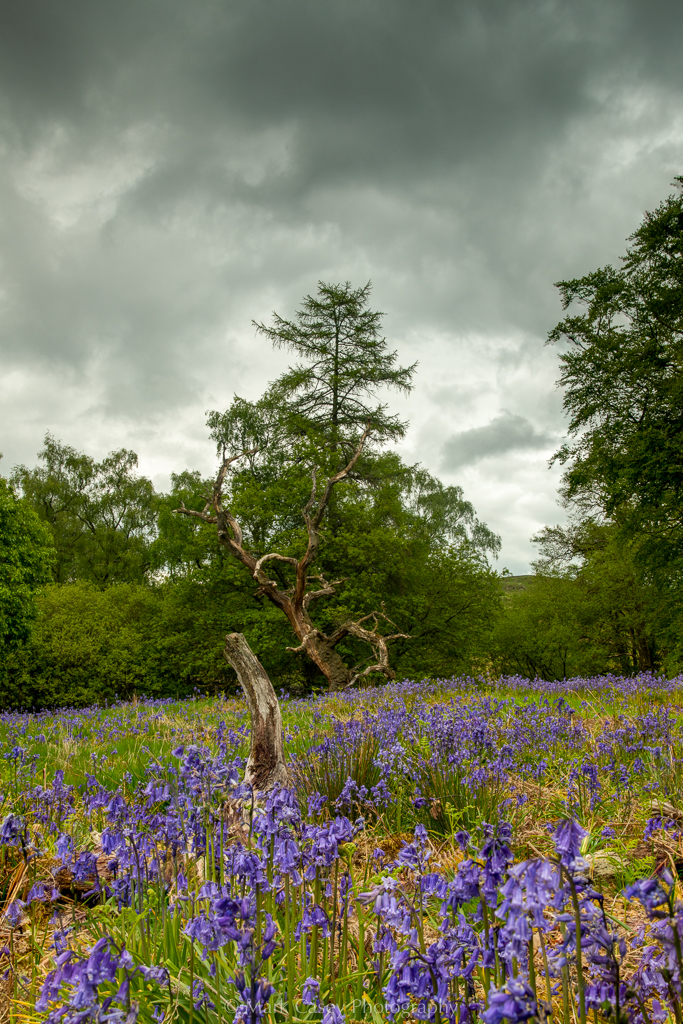
Using this technique resulted in the final image at the end of this post, which avoided many of the drawbacks associated with higher aperture settings whilst also retaining the benefit of that apparent larger depth of feild.

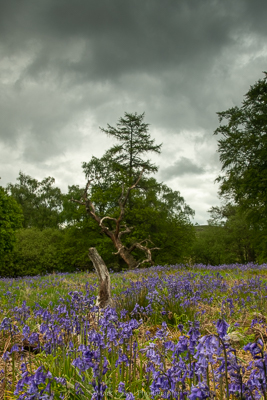
1/3 – Bluebells
Talking through the composition :
1/3 – For the first image in the sequence I focussed on the very foreground of the image, the Bluebell flowers. I’ve wanted to photograph bluebells for a while now but I didn’t want to make them the main focus of the image, and in this composition they anchor the image without becoming the main focal point.

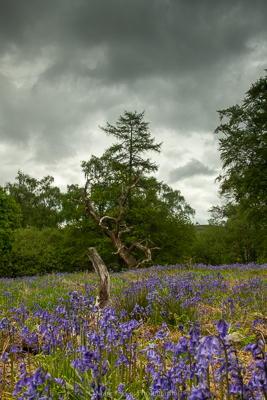
2/3 – Dead Tree 1
2/3 – The second image is all about the middle ground, so whilst I could have gotten away with not selecting the first tree (the one nearest to the viewer in the image) to be included in the stacking process, the central ground of that area wouldn’t have looked quite as sharp without it.

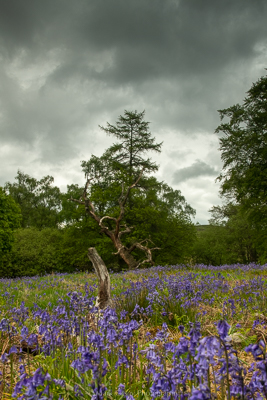
3/3 – Dead Tree 2
3/3 – The third image I included in the sequence is the second dead tree in the image – the one farthest away from the camera and closest to the greenery of the tall tree in the background.
This provided me the perfect front-to-back image sharpness that I was looking for so the final image would look just how I anticipated it would when I was at the location photographing the scene.

The final image has sharp focus on all the elements from the flowers at the very bottom of the image, right through to the twisted, dead tree. I wanted to leave a little sense of depth, which is why I left the tree in the center of the frame out of focus, and I think the sky creats a wonderful sense of forboding to the overall scene.

